Matt’s Real Buttermilk Biscuits
By: Matt Farr @farrbecue
Real buttermilk biscuits are a southern delicacy, the likes of which cannot be found in the refrigerated section of the grocery store in a can. In my opinion, biscuits should use simple, old school ingredients and good, old-fashioned cast iron cookware - the way they would have been made in the nostalgic years-passed. This recipe is one we’ve worked on for a few years and one of our favorites. Biscuits should taste buttery and the texture should be just the right kind of crumbly. Biscuit texture is as much about the technique as the ingredients, so it may take a few batches before you really nail it. The wife likes these enough that she requested these biscuits and bacon gravy (future post, maybe?) for her birthday dinner this year.
I’m listing the brands for ingredients we like because we know they work well. If you have your own favorite brands, feel free to try them out and let me know how it goes. I’m also listing two batch variants because I make these as often for a big group as I do for a small group. Technique doesn’t change between the two.
Small Batch - For 8-10 Regular Biscuits (4-5 people)
The Goods:
· 2 ½ Cups AP Flour, plus more for the bench – White Lilly
· 3 ½ Teaspoons Baking Powder – Clabber Girl, Double Acting
· 1 ½ Teaspoon Kosher Salt
· 8 Tablespoons Unsalted Butter, plus more for greasing the skillet
· 1 ½ Cups Whole Buttermilk – Marburger Farm Dairy Gourmet Buttermilk
The Equipment:
· 12” Cast Iron Skillet - Lodge
· Pastry Cutter
Large Batch - For 12-15 Cathead Biscuits (12-15 people)
The Goods:
· 6 ¼ Cups AP Flour, plus more for the bench – White Lilly
· 8 ¾ Teaspoons Baking Powder – Clabber Girl, Double Acting
· 3 ¾ Teaspoon Kosher Salt
· 20 Tablespoons Unsalted Butter, plus more for greasing the skillet
· 3 ¾ Cups Whole Buttermilk – Marburger Farm Dairy Gourmet Buttermilk
The Equipment:
· 17” Cast Iron Skillet - Lodge
· Pastry Cutter
The How:
Cube the butter and place in the freezer. Preheat oven to 425 and grease the skillet interior with some butter, then set to the side on the counter.
Sift the flour into a large bowl. Add the baking powder and salt, then whisk together to mix. Retrieve the cubed butter from the freezer and drop it into the dry mixture, then use the pastry cutter to cut the butter into the mixture. You should be aiming to have pea-sized-or-smaller butter chunks throughout the entire mixture. Do this as quickly as possible while touching the butter with your hands as little as possible. We want the butter to stay cold.
Once the butter is sufficiently cut, add the buttermilk to the bowl and gently fold together with a large spoon. You want to bring this just to a shaggy dough, barely integrated together, maybe 5 or 6 full folds. I can’t stress this enough – do not overwork the dough. Doing so with destroy the texture of your biscuits - leaving you with dense, rubbery, sad excuses for biscuits.
Lay a large strip of parchment paper out on the counter, then lightly flour the surface. Turn your dough out onto the bench and fold it over itself 2-3 times, lightly flouring between layers to keep everything from being too sticky. Press out, using the just the tips of your fingers, until you have a large, relatively even, 1” disc.
Using a large glass (or a biscuit cutter if you have it), cut the biscuits. Be sure to dunk your glass in some flour between cuts to keep things from sticking. Lay your biscuits in the skillet as you go with the sides touching. Form biscuit trimmings into “dog biscuits” to fill in any large open gaps. Pop the skillet on the middle rack of the oven and set a timer for 20 minutes. The tops of the biscuits should just be slightly golden when they’re done. Add time in 2-minute increments as needed to achieve the right doneness.
Remove the skillet, and using a butter knife, trim around the edges of each biscuit. Be sure to get all the way to the bottom, as the bottoms and edges will be a perfect golden crust. Use the butter knife to pop biscuits out onto a cooling rack, or as we do, right onto your plate. Failure to remove biscuits from skillet promptly will result in burned bottoms/sides.
Serve with your favorite jellies or jams (I’m partial to apple butter, pictured) or under some gravy.
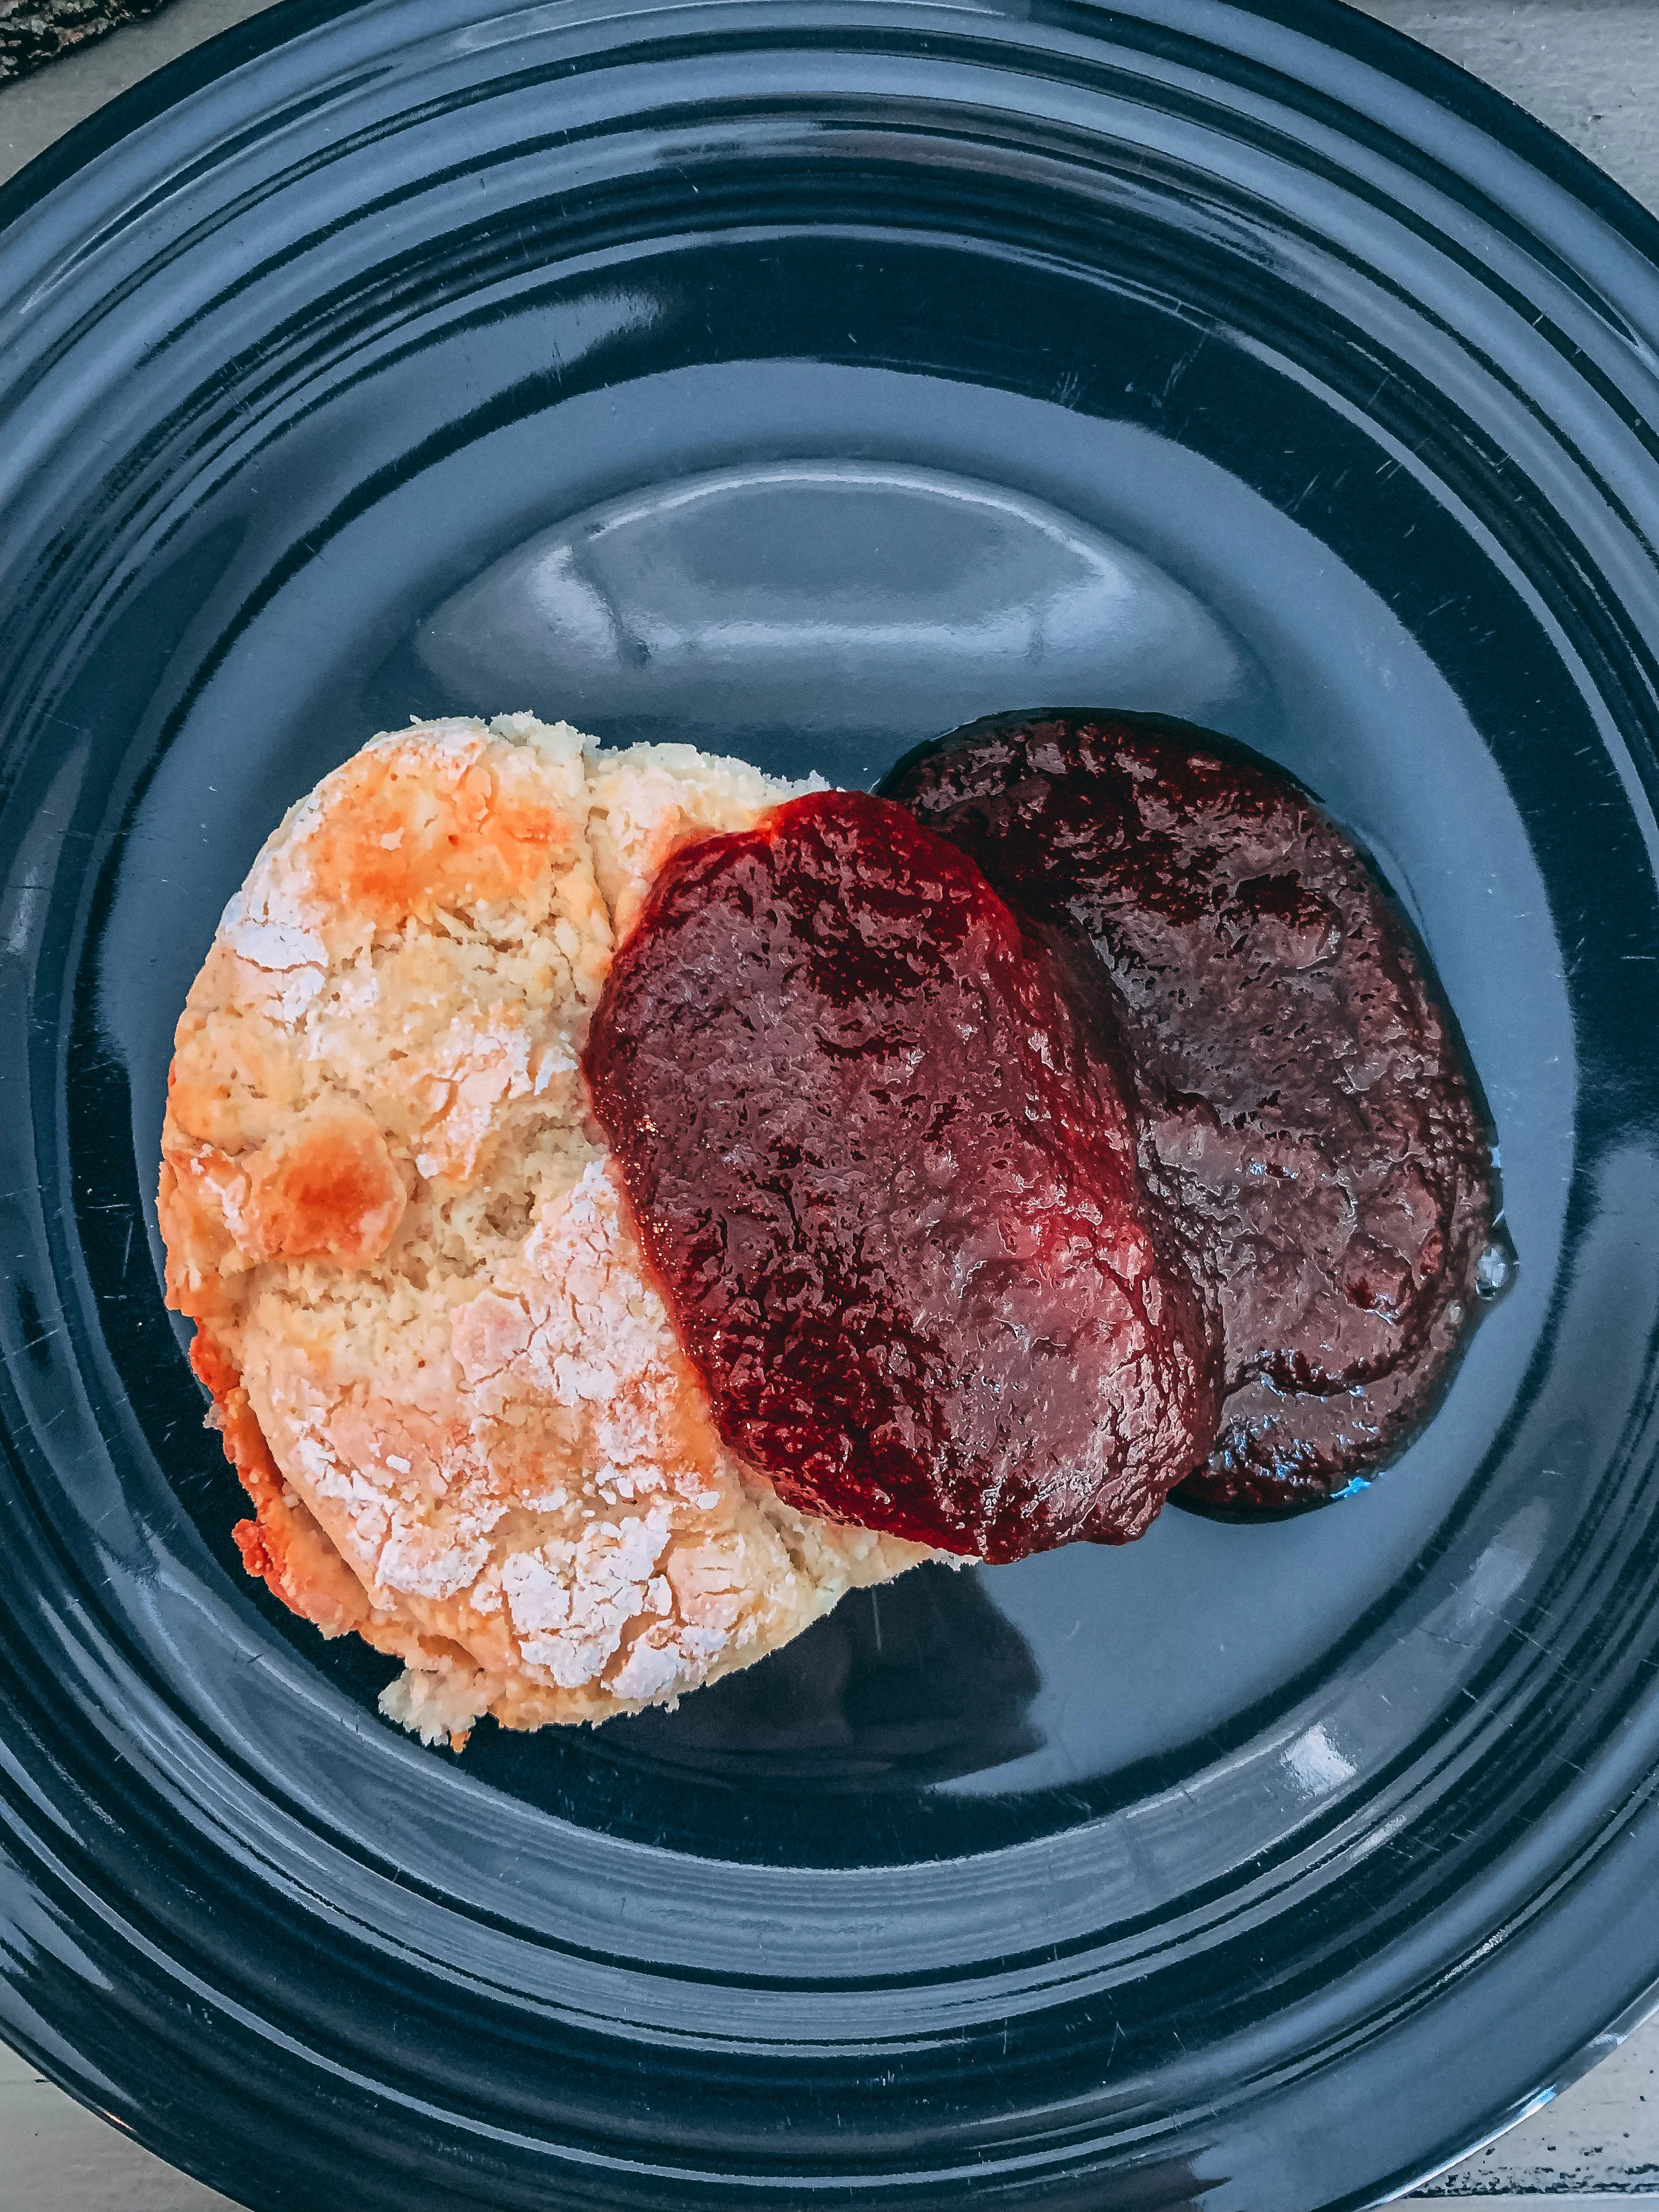
Apple butter with a biscuit on the side.
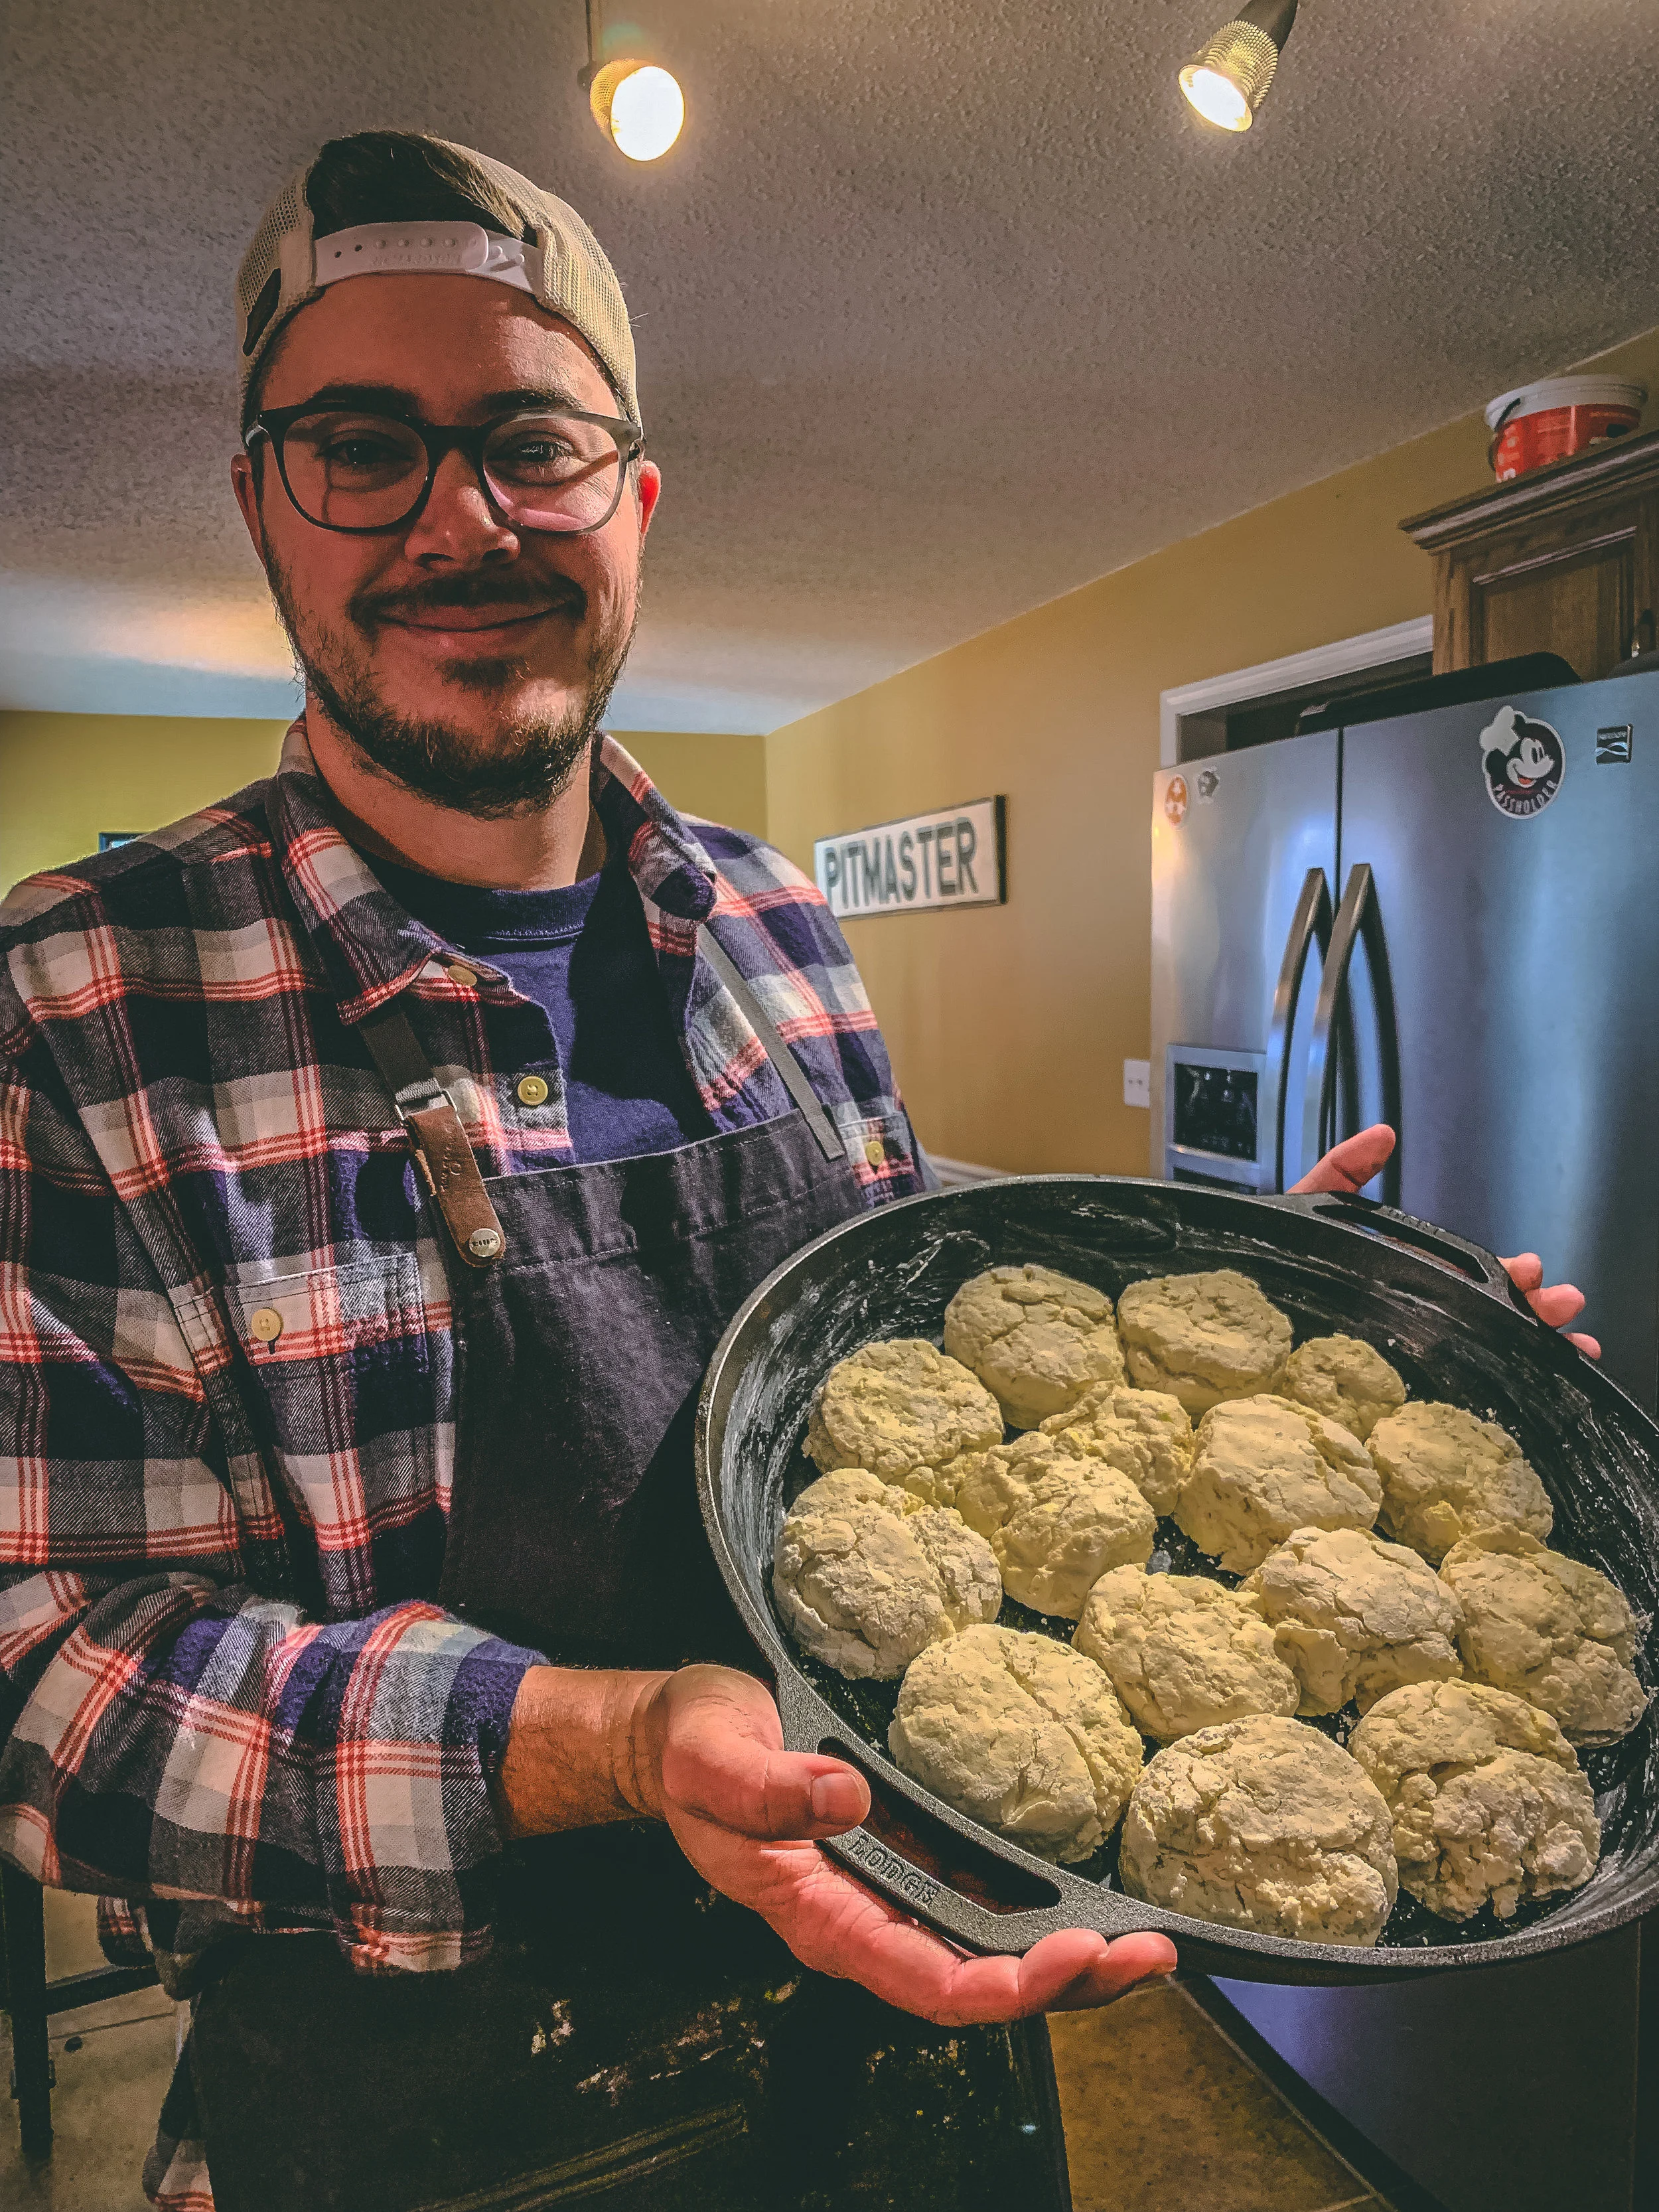
Large Batch on Thanksgiving Morning, 2018